You know when you order a custom deck from BoardPusher Skateboards that you’re getting a 7-ply, Canadian Maple, pro-quality product, and Slayer also knows it! BoardPusher is[…]
How To Go from Sketchbook to Skateboard
Check out this video on how to turn your sketchbook drawings into your next sick skateboard graphic using BoardPusher.com. Below, we have some detailed instructions on how you can accomplish this yourself.
- Many printers come with a scanner these days. While our first inclination is to press our faces against it and send the images to our bosses, the scanner is also the perfect size to scan pages from your sketchbook
- Most skateboard graphics are designed at around 9 x 33 inches at 300 dpi.
- Make a 3 x 11 inch area for your graphic in your sketchbook.
- Since your image will be three times smaller than a typical skateboard graphic size you will need to scan your image at 1200 dpi.
- Use the scanner input settings to adjust contrast and colors.
- Try to only select and scan the 3 x 11 inch area
- Save the file as a .jpg.
- Go to BoardPusher.com.
- Choose your deck size.
- Upload your scanned image.
- *Expand and rotate your graphic to fit the deck*It is important to remember that your image was scanned at 1200 dpi. If it is not or you are working with a different graphic that was not scanned at 1200 dpi then expanding the image will create pixelation and your graphic will come out blurry.
- Save your skateboard graphic to your profile so that you can order it as often as you like. Don’t have a profile? Not a problem. Make one. It’s free.
- Add your deck to your cart and order your own customized skateboard graphic ready to destroy and display.
Related Articles
-
-
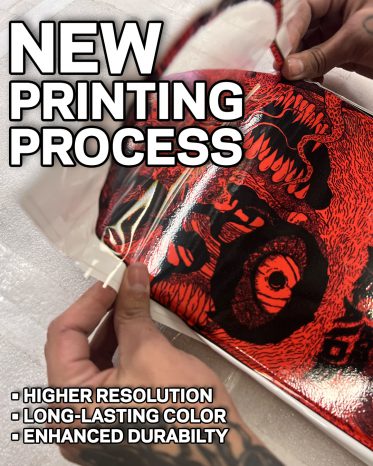
We’re excited to share that all BoardPusher decks are now produced with digital-screened transfers using archival-grade inks. This upgrade brings you: Higher[…]
-
If you’re not sure which skateboard size or graphic is the best fit, give a BoardPusher Gift Certificate and let them design[…]
-
Time is running out, BUT you can still get a custom skateboard from BoardPusher.com delivered in time for Christmas! The ground shipping deadline for[…]


